You can enter an unlimited number of Contacts, such as family members and other treating healthcare providers, in the Contacts panel in the lower right corner of the Main tab of the Patient form.

To add a new contact to the list, click the New icon, or click anywhere in the Contacts panel and press <CTRL><N>.

Last Name on the Contact form is a required field. SOS recommends that you specify a Contact Type from the associated lookup list. There is a New button at the bottom of that list if the type you need is not already on the list.
At the bottom of the Contact form is a Communications panel in which you can add as many phone numbers, mailing addresses, and email addresses as you like.
Previous: Entering a New Patient, Step 3: Patient Communications
Related Articles:
Entering a New Patient, Step 1
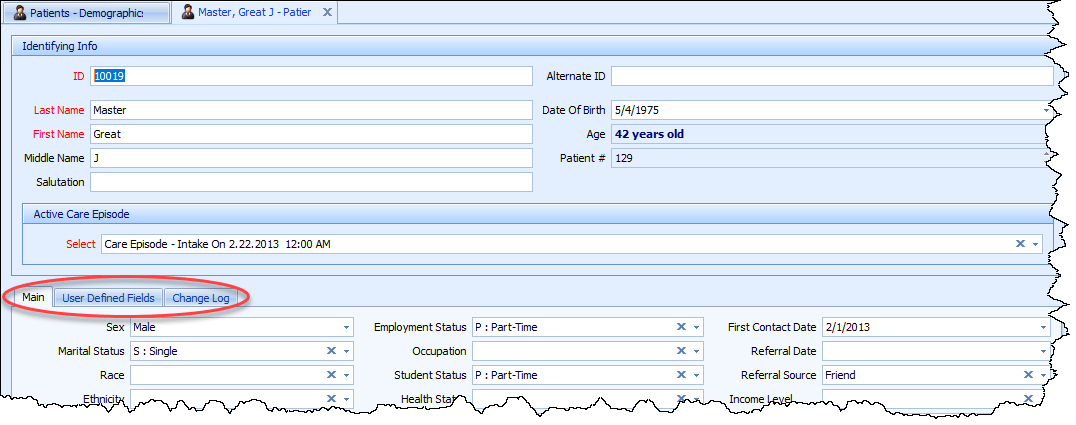
Entering a New Patient, Step 2: Basic Demographic Data Fields
Managing Patient Insurance Payers
Managing Patient Non-Insurance Payers
Managing Patient Care Episodes
Managing Patient Posted Charge Entries
Managing Patient Posted Payments and Adjustments
Recording Patient Psycho-Social History
Managing Billing and Clinical Documents for a Patient
Creating a Patient Treatment Plan
Recording Progress Notes
Recording Prescriptions
Recording Allergies
What Are User-Defined Fields?